In the previous post, we installed SQL server for SharePoint. In this post, we will install SharePoint.
1.Go to C:\Software\SW_DVD5_SharePoint_Server_2013w_SP1_64Bit_English_MLF_X19‐36118
2. Select Run as Administrator, and run setup.
3. At the first prompt select Yes to continue the SharePoint 2013 Installation.

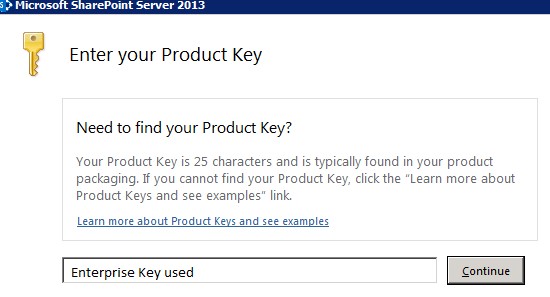
4. You will be prompted for verification of the proper SharePoint Enterprise key. Type in the CD
Key and select Continue.
5. Select I accept the terms of this agreement and select Continue.

On installation type, I chose a complete install. For Performance reasons, a Complete install will work a lot better than a Standalone‐install. The difference is SharePoint offload all of the SQL based transaction to the SQL server instead of trying to run it locally.
6. Select Complete install, and select Install Now.
7. Select Next to continue the install.

The installer is running..

8. Select Close.

Install has completed. However, remove the checkmark in order to reboot the server. This will ensure any components (like Internet Information Services) can be run after the server reboots.
Using the SharePoint Products Configuration Wizard
After Reboot, Running the configuration wizard.
Select Yes.

Select Next,

Selected Yes, to alert.

Select Create a new server farm

Database settings used

Select Next,

Set up a farm password and be sure to remember. Select Next.
Left authentication at defaults and select Next.

Selected Next to confirm settings.

Note <restarted configuration due to forgetting to make my account Sysadmin> despite creating the database with the CLD\SPDB account…
Turn off proxy in order to access the main page.

Default homepage.

In the next post, we will Create a New Web Application.